So how does this trick works ? Simply by using a trick with disk images. Here’s how it works; by placing files inside of an encrypted disk image, that disk image will work like a password protected folder and require a password before it’s mounted, preventing unauthorized access to all of the contents. Here’s the steps:

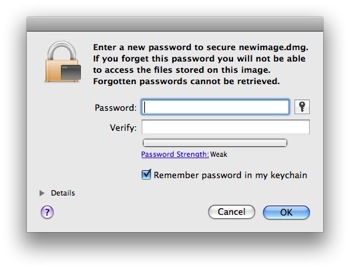
At the next screen you will set a password to access the folder – do not lose this password, you will not be able to open the disk image if you do
Optional: Uncheck the box next to “Remember password in keychain†– only do this if you’re the only user on the Mac, otherwise anyone can open the image without the password, and finally click on Create.
The encrypted disk image is now created. Now you need to locate the image, mount it which will require the password set in the creation process, and drag files and folders into the mounted image that you want password protected. The default location for new disk images is the Desktop, but if you saved it elsewhere, look there instead.
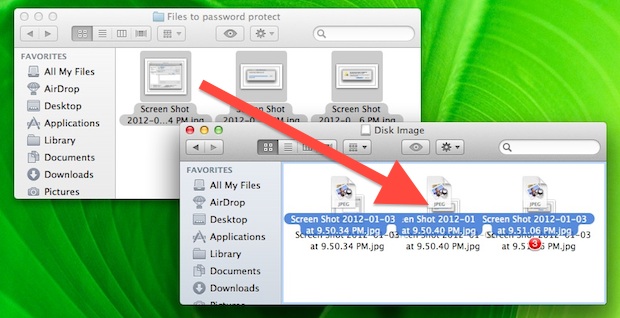
Now after you’ve done copying files and folders on the disk image eject it like any other disk and the contents will be safely protected within, requiring the password to access again. Because the files and folders have been copied, you’ll want to delete the originals so they aren’t visible to anyone else. Again, do not lose the password set or you will not be able to get access to the contents of the encrypted disk image.

