Downloading Checkra1n iOS 15.0 – iOS 15.3
If this tool sounds right for you, it’s easy to get your hands on it. The next step by step list will ensure you get the correct file from the official source and place it where it needs to be for proper functionality. For the sake of simplicity, these directions will focus on downloading with macOS. The mobile tech world, and especially the Apple corner of that world, was flooded with news over the weekend about what could have been Apple’s worst nightmare come to life.
See all downloads ». You can’t download this on your iOS 15.3 device. Come back to the computer to get started with checkra1n. We couldn’t determine your OS.
First, take a moment to backup your phone’s data on iCloud or iTunes.
Connect your iPhone to your Mac. If you see the “Trust this Computer” prompt, choose “Trust.”
On your Mac, go to the official checkra.in domain download page [https://checkra.in/releases/] , and choose the most recent release for macOS. Note the filename ” checkra1n beta 0.12.4.dmg ” for later. Be sure to download it from the original source. Other sites may host malware, and can’t be trusted.
Once the download is finished, you are ready to move on to the actual jailbreaking process.
Checkra1n iOS 15
iOS checkm8 exploit promises unpatchable jailbreaks with some caveats
Just like what happened on the Switch and the Fusée Gelée exploit, a security researcher discovered a similar vulnerability that lay deep in the most inaccessible part of an iPhone’s hardware. Specifically, checkm8 only affects devices running on Apple’s A5 chip all the way up to the A13 – A14 generation, affecting all devices from the iPhone 4S to the iPhone X.
On paper, this exploit dubbed “checkm8” could offer a permanent way to jailbreak iPhones older than the iPhone Xs. In practice, regular users who want nothing to do with the jailbreaking scene have nothing to worry about unless they hand over their iPhones to an unauthorized person.
Jailbreaking Your iPhone With Checkra1n
- Locate the downloaded file (it will have a “.dmg” extension) and double-click it.
- Drag the Checkra1n file into your Applications folder, then open the folder and right-click the file.
- Click on Show Package > Checkra1n > Contents > macOS.
- Find the file named “checkrain_gui” and double-click it. This will bring up the Checkra1n control window. Make sure that your iPhone is recognized before clicking Start.
- On the following screen, you will be presented with a list of options. I recommend selecting the “verbose boot screen” option, as it gives a visual representation of the jailbreak process. Don’t bother with the other options, unless you are sure you know their effects.
- You will be prompted to put your device into DFU (Device Firmware Update) mode. Click Next and follow the on-screen instructions. Once done, the actual jailbreaking process will begin.
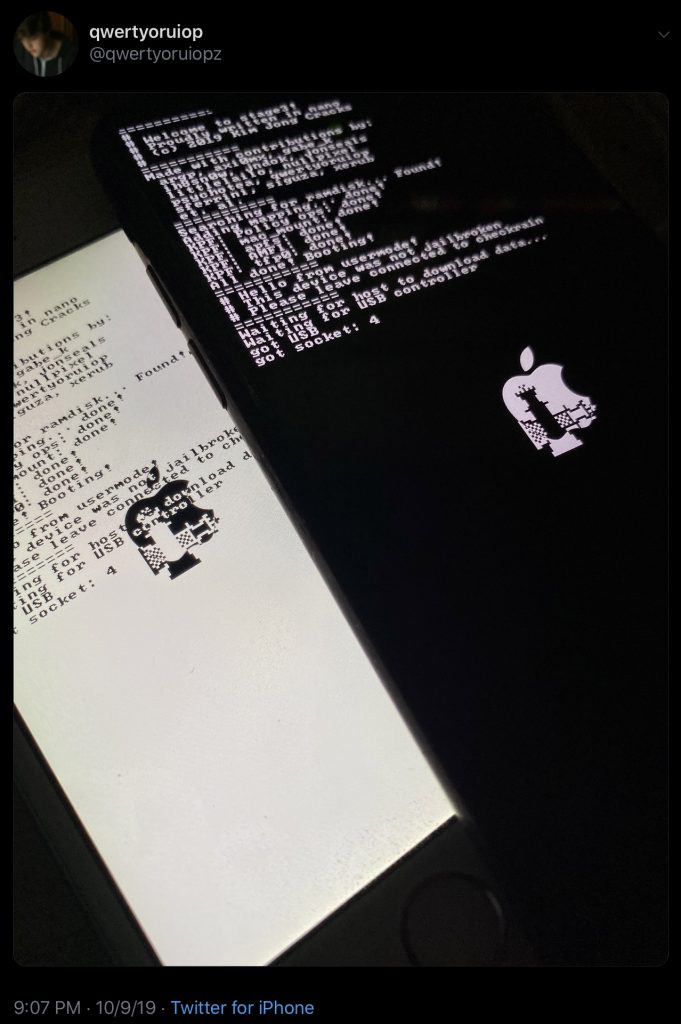
- If you choose the verbose boot screen option, this is when you will see it appear on your phone’s screen. You will continue to scroll down with information until the jailbreak is complete.

If you’ve made it to this point, congratulations! You’ve successfully managed to jailbreak your iPhone with Checkra1n. But, there’s still one more step if you want to have access to all the apps and tools now available to you.
Close the app on your Mac and look at your phone. You should see the Checkra1n loader icon on your home screen. Tap it, and you’ll see a black screen with the Cydia icon as the only listed option.
Cydia is essentially the jailbreaker’s Apple Store. It aggregates myriad app repositories online to grant you access to everything you couldn’t get through official channels, along with many of the things you could.
You’ll need it, since jailbroken phones can’t use the Apple Store. Tap that Cydia icon, choose install, and you’ll be fully up and running.
The post Semi-tethered jailbreak – high-quality iCloud Bypass iOS 15.3 appeared first on Jailbreak iOS 15.3.


