how to fix checkra1n jailbreak error getting passcode state, fix checkra1n error connecting to lockdownd, and fix the checkra1n jailbreak freeze issue on iPhone on your Windows machine using checkra1n iOS 16. I have shared two methods to fix all checkra1n errors below. If your problem isn’t fixed with the first method, you need to follow both. If you happen to encounter with interface “Bootstrap upload failed(Error code: 18)”. Just close 4MeKey and run it again to jailbreak your device.
I recently wrote an article on checkra1n jailbreak Windows method, including the iOS 16 and up. Also, do not forget to check out the newly released checkra1n window tool, iremovalra1n, which you can use to jailbreak with checkra1n on windows without a bootable USB. Checkra1n Jailbreak is already built-in into iRemove Software. No need to download it as a separate software. Complete iRemove Software will check your device once the jailbreak process is finished and you can start using it to have your device iCloud Activation Lock Screen free.
Download iRemove Activation Software
Download and Try Another Checkra1n Version
If you have downloaded the latest version, there are other Checkra1n versions you can give it a try, please click here.
- Step 1. Choose and download any one of the versions mentioned above.
- Step 2. After installation, you can start to jailbreak normally. If the process undergoes successfully, then you make it.
If not, follow the instructions below:
- Step 1: Run the terminal on your Mac.
- Step 2: Key in “xattr –rc” and press the space key.
- Step 3: Then drag the new Checkra1n directly into the command window and press “Return”.
- Step 4: Now the results will demonstrate below.
But many A11 users with iPhone 8, 8 Plus, and iPhone X with iPhone 11, 11 Pro Max, 12 Pro, 13 Pro Max including iPhone 14 Pro Max have issues with the latest checkra1n version. For some users, it is working fine. However, for some users, the checkra1n jailbreak freeze issue happens on the checkra1n screen after allowing the skip from A11 to A15 BPR check.
iOS 16 Jailbreak on Windows Using Checkn1x Tool
- Download and launch iRemove Software. To do so, click the right mouse button on the app icon and select “Open”. Make sure full permissions are granted to the app and FileVault is disabled in case the app is running with issues while it’s on – Windows Checkn1x Download
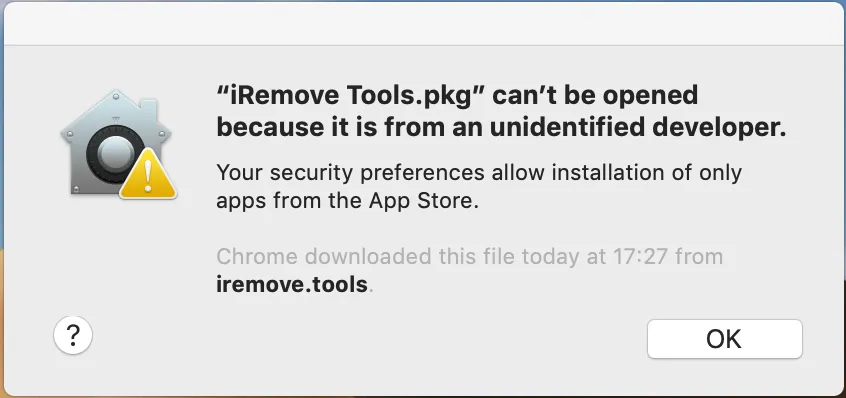
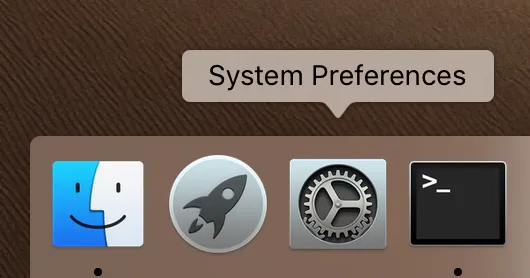
- Go to the System Preferences of your Mac:
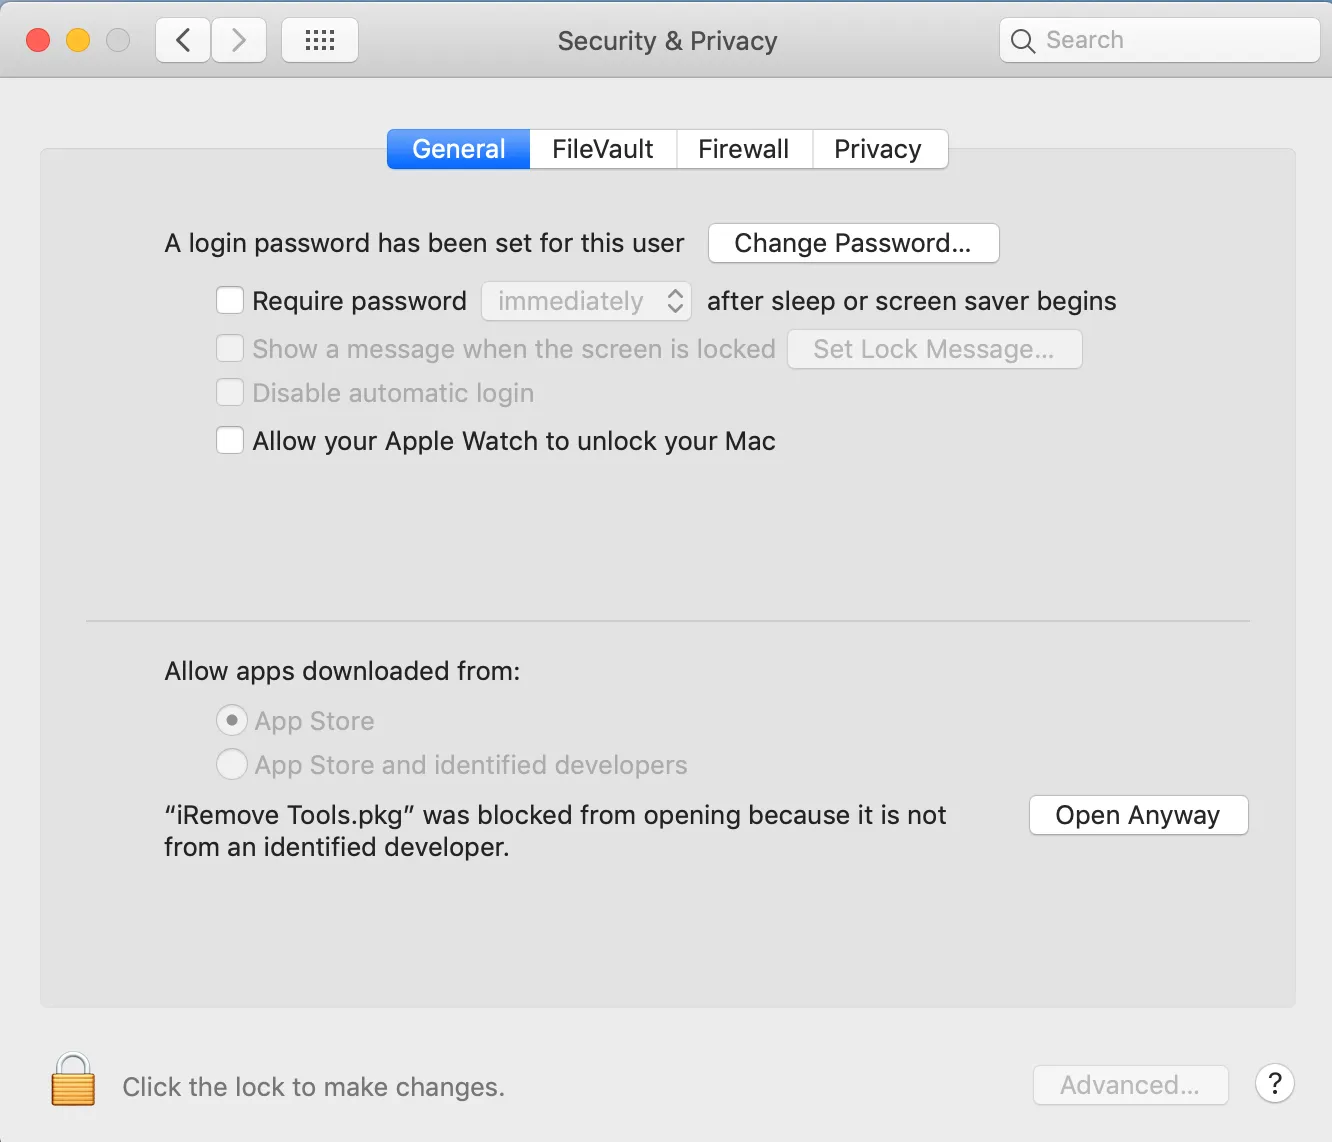
- Open Security and Privacy:
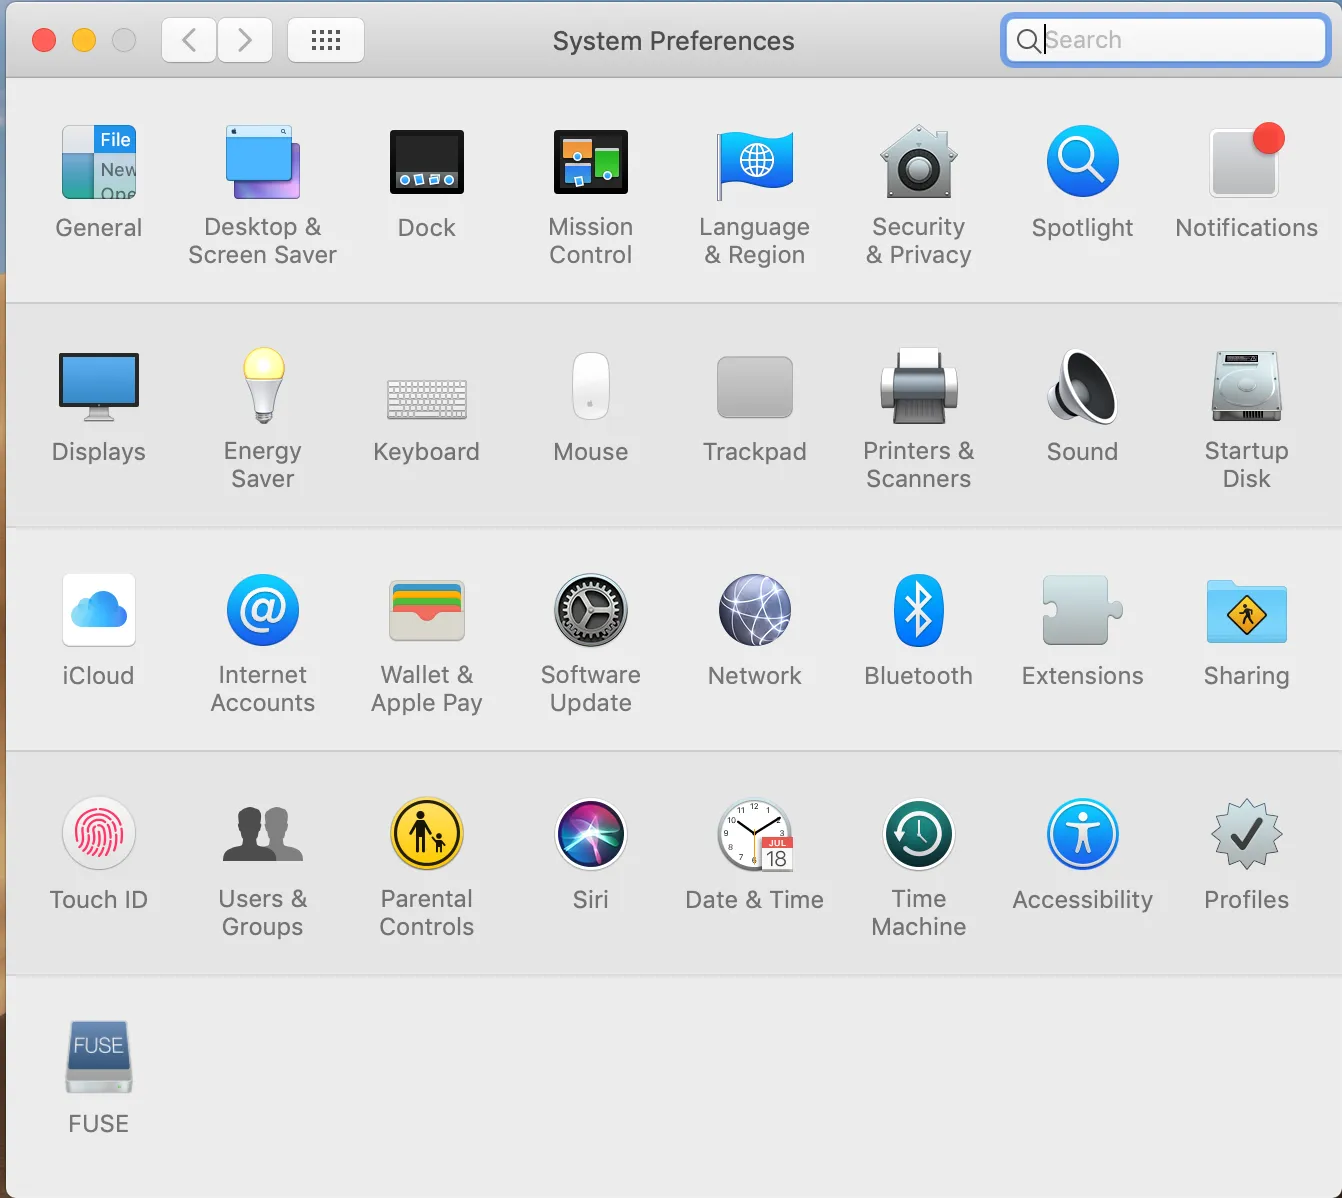
- Open Security and Privacy:
- Go to the System Preferences of your Mac:
- Install iRemove Software.
- Click on “Continue” button in the Introduction step:
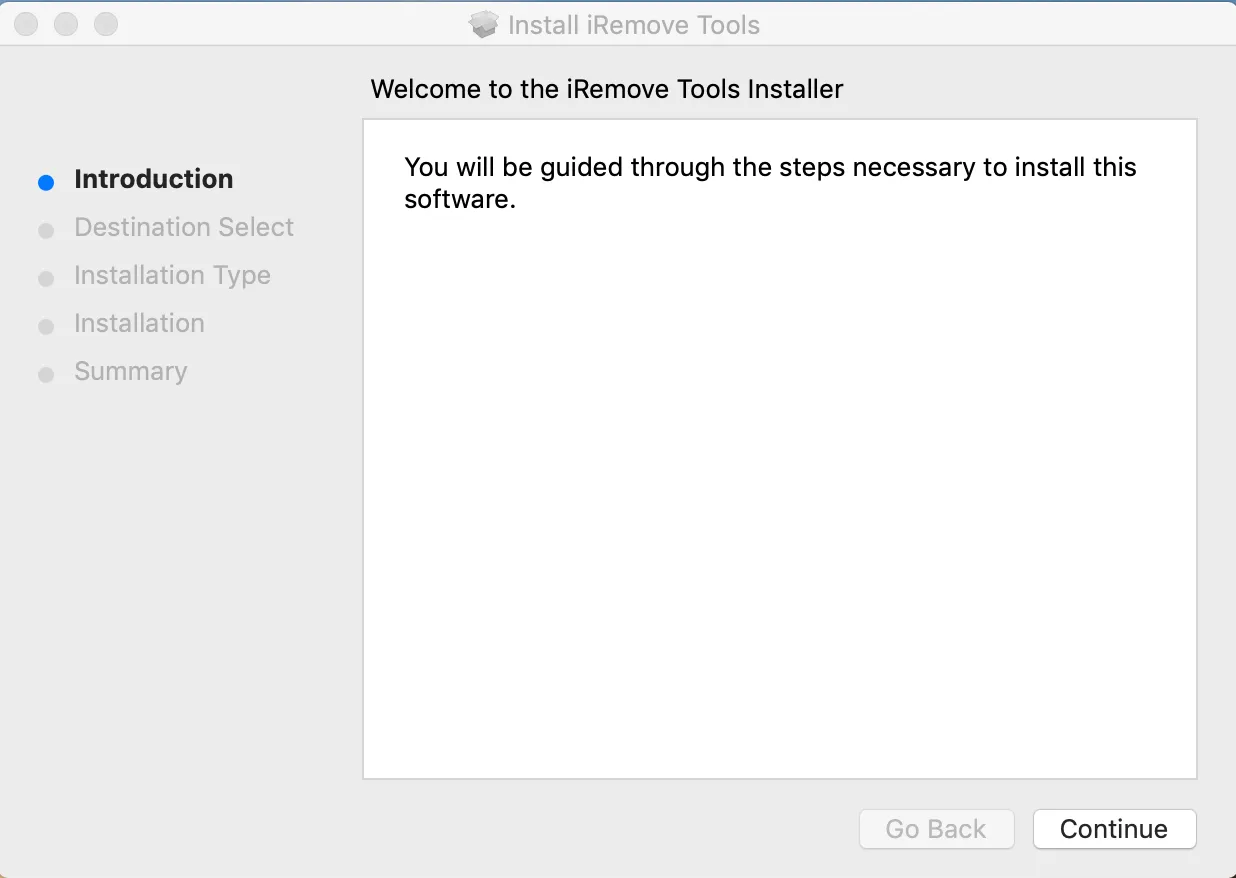
- For installation type, allow software installation on your Mac by entering your password:
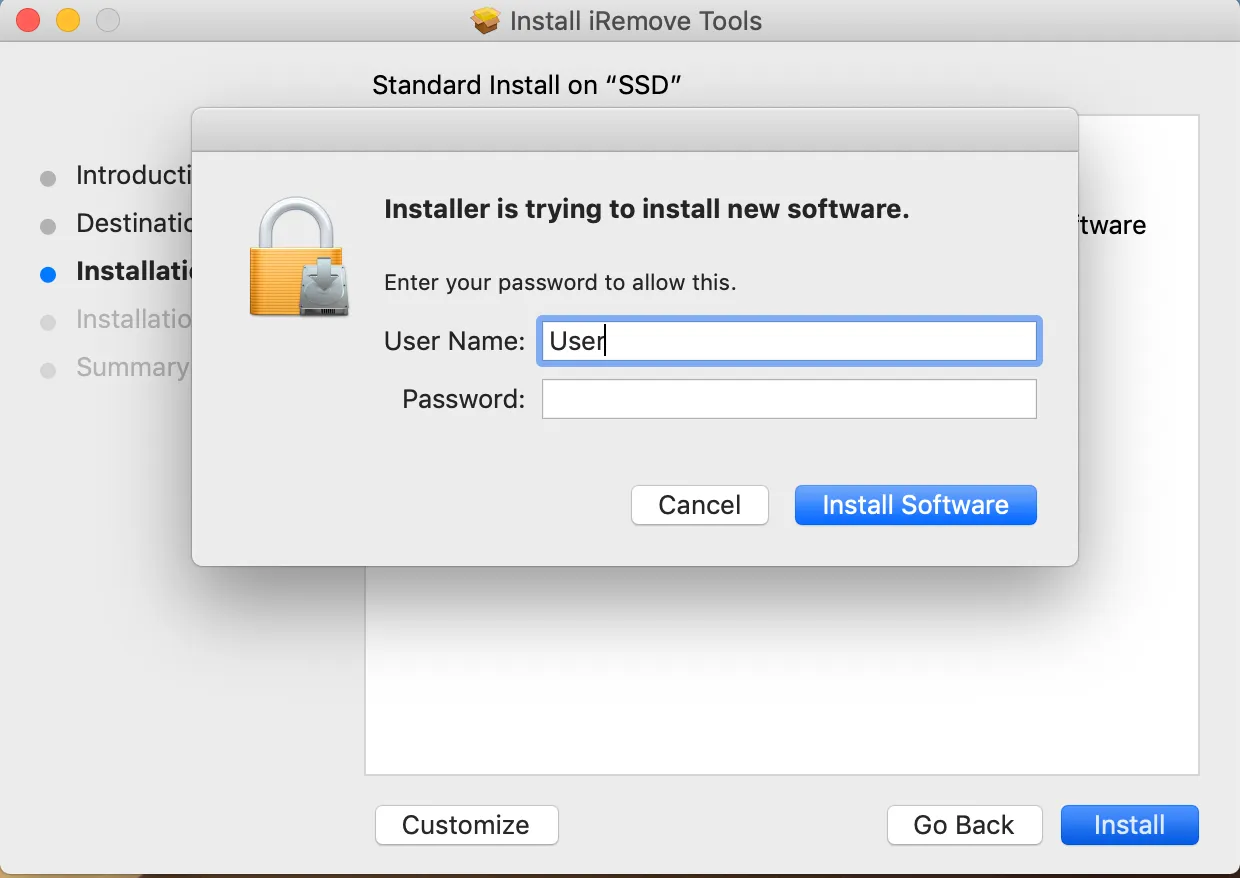
- Install by clicking on “Install” button:
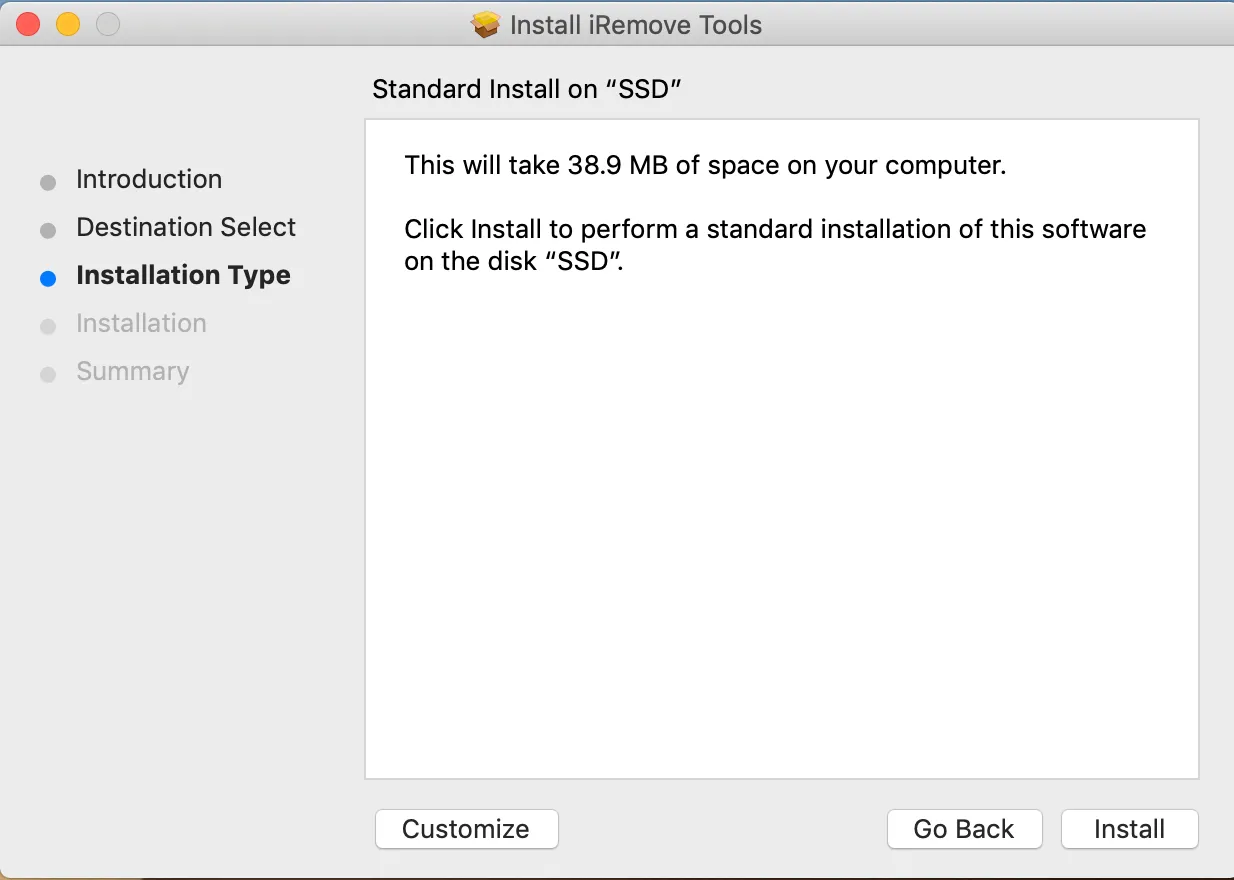
- Summary step – Complete installation by clicking on “Close” button and running iRemove software from app menu:
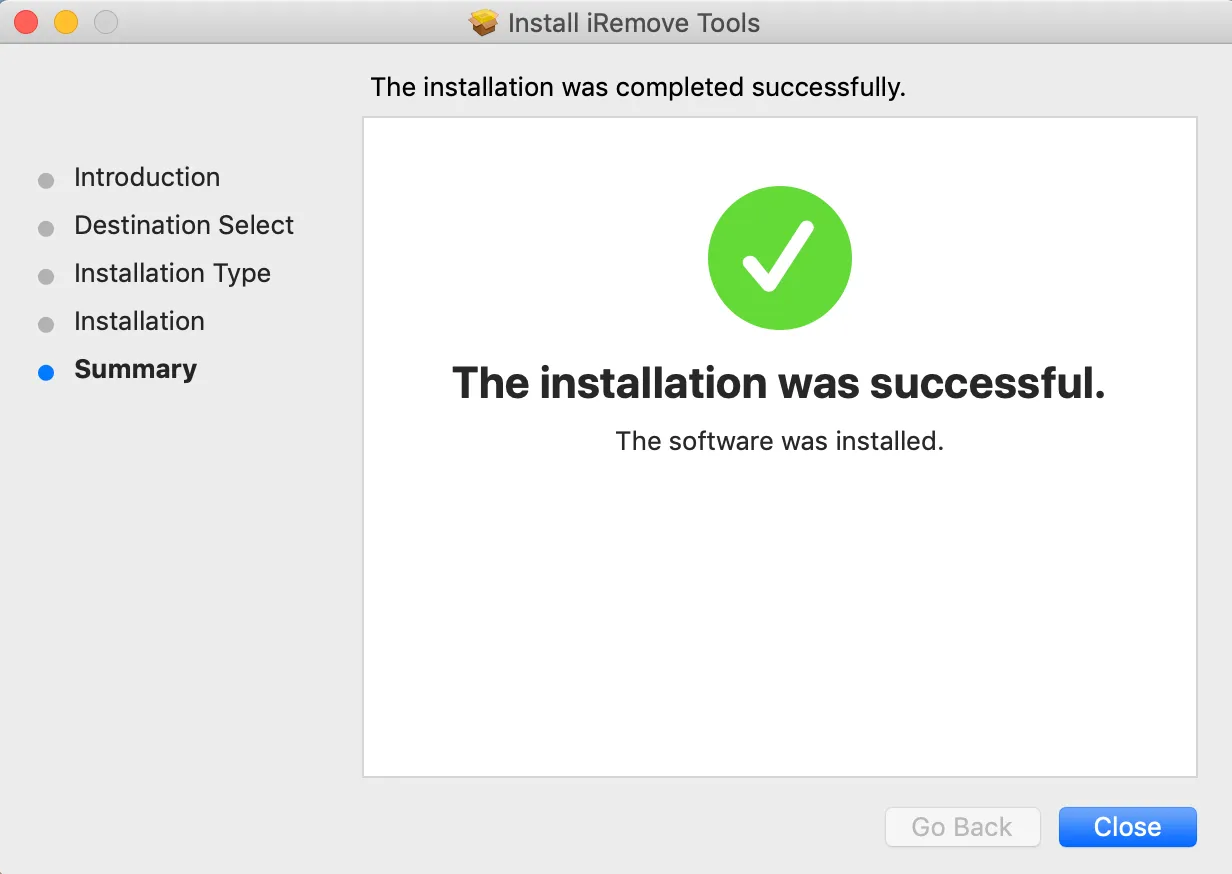
- Click on “Continue” button in the Introduction step:
- Open iRemove Software. Click on the Apps icon or Launchpad icon in the Dock. If you click on Launchpad, click on the iRemove Software icon afterwards.
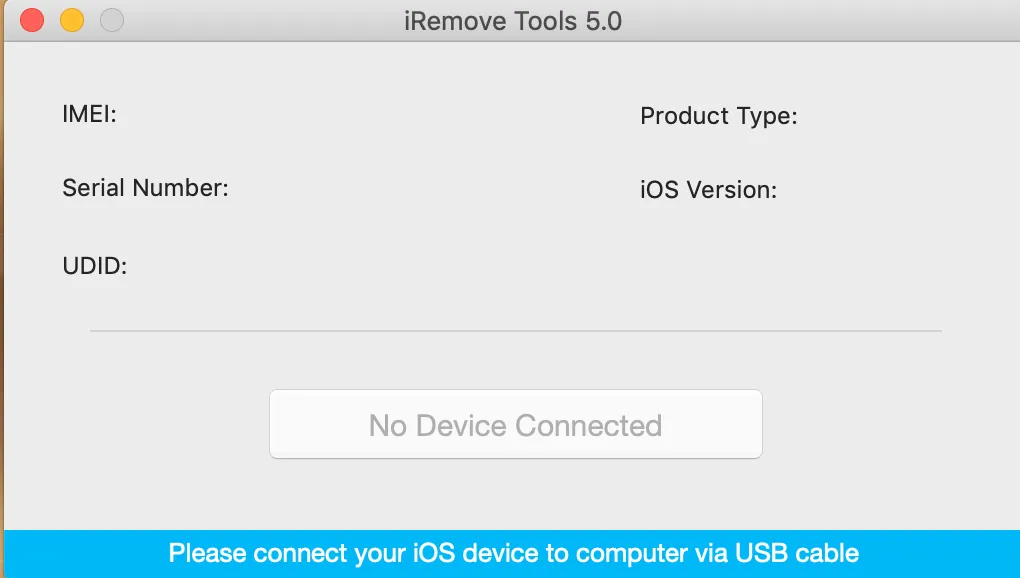
- Connect your iPhone or iPad to your Mac PC using a USB cable. Your device will be checked once iRemove Software detects it.
- The following message will appear in case your device is supported, but is not jailbroken:
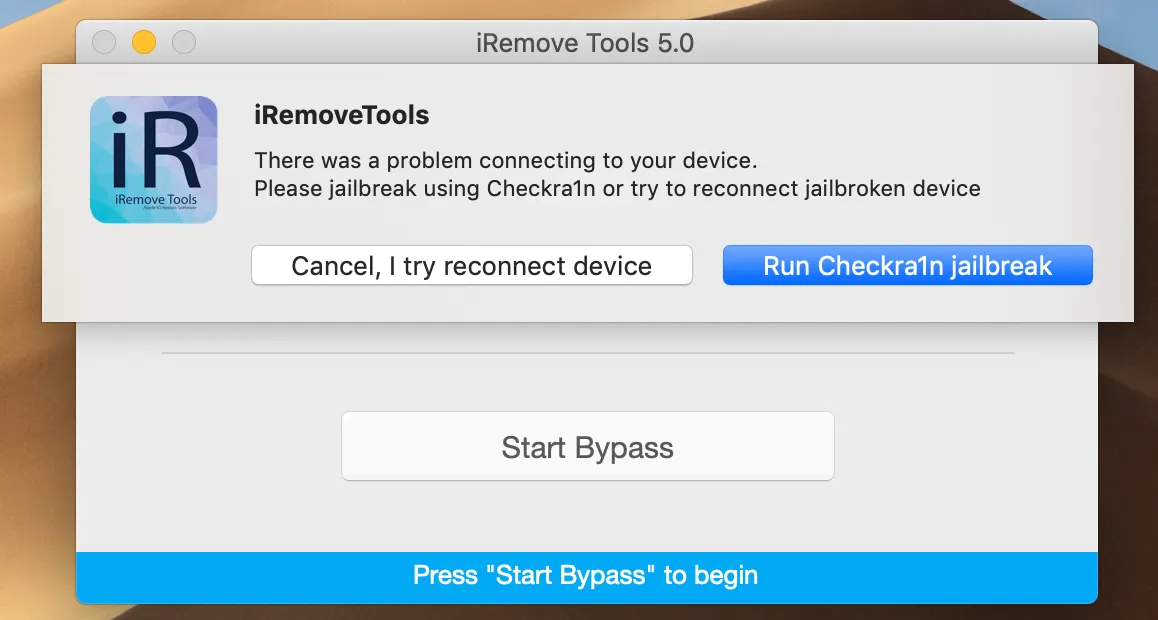
- Click the right mouse button to run Checkra1n. Checkra1n will detect the device connected to your Mac PC. Click the Start button.
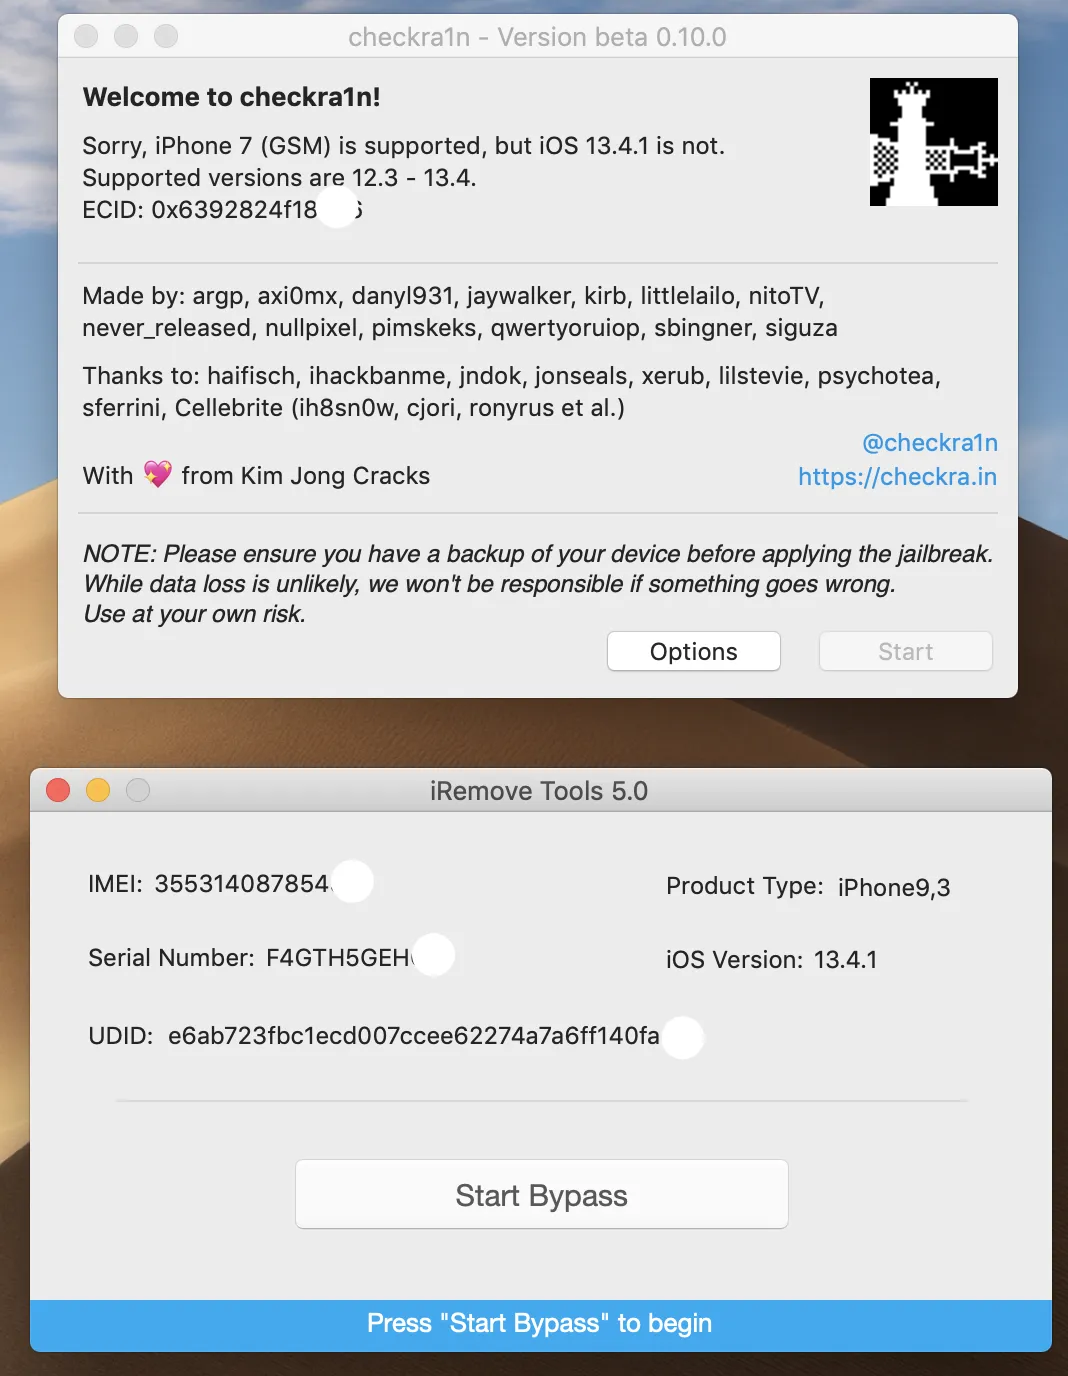
- The next Checkra1n screen will display instructions on putting your device into DFU mode for the purpose of jailbreaking process initiation.
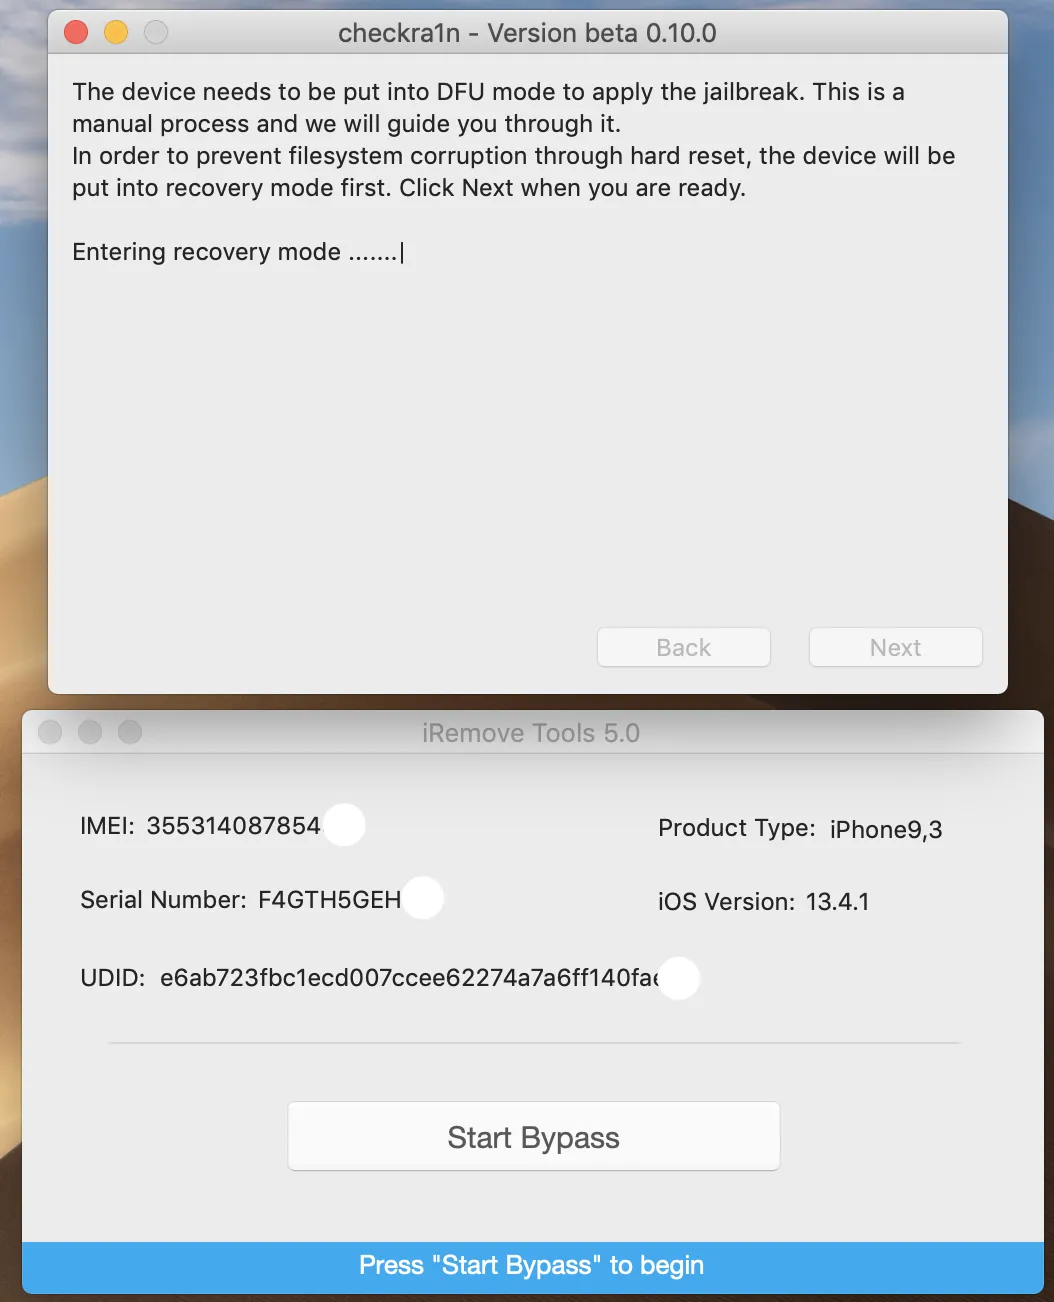
- Please follow the on-screen guide telling you how to put your device into DFU mode. Our own instructions on how to put your device into DFU mode are here for you in case you face any issues with following the on-screen guide.
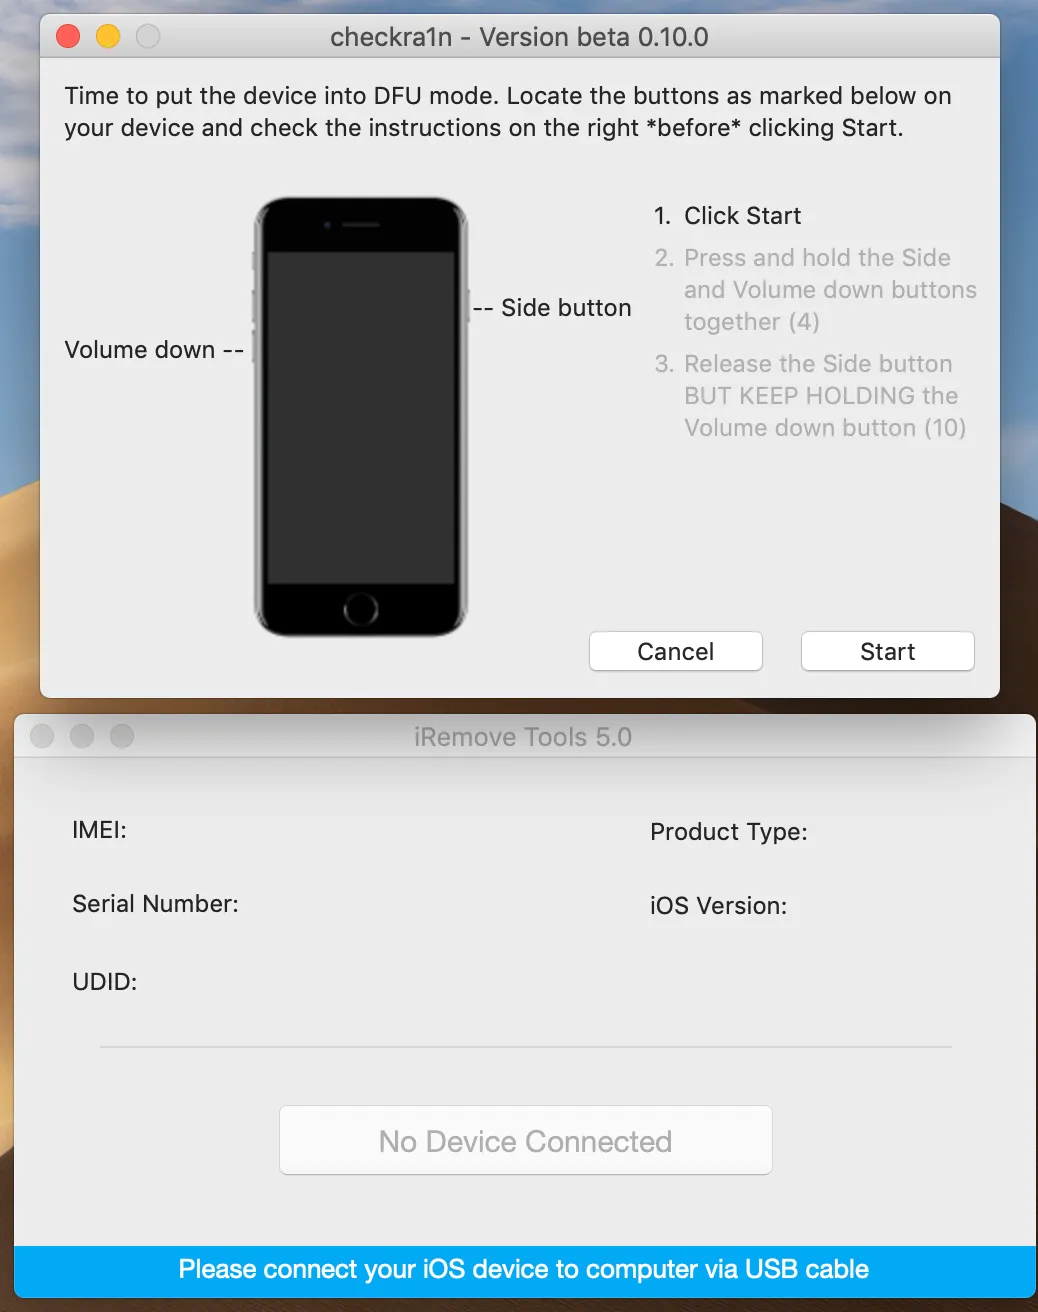
- The exploitation and jailbreaking process will start once your device is in DFU mode. Verbose logs of the jailbreaking process will be displayed on the device’s screen throughout the entire jailbreaking process. DO NOT do anything on your mobile device or Mac PC.
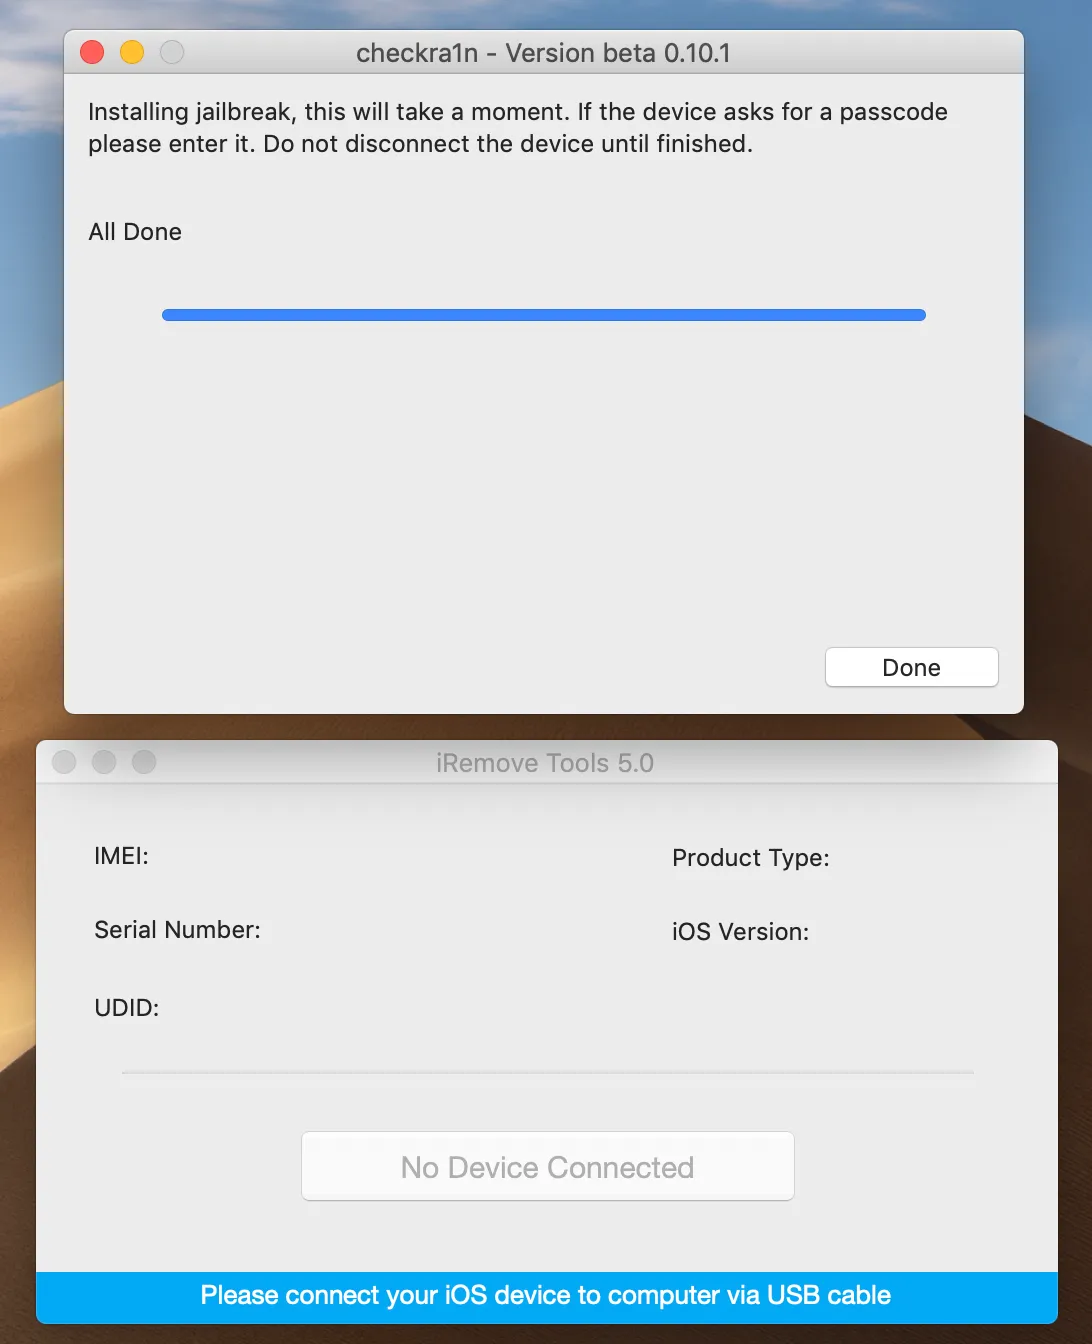
- Just be patient and let them do what they do. In case jailbreaking processes is completed successfully, “All Done” message will appear. Please refer to the common issues page if you receive an error message.
- Check if your device is ready:
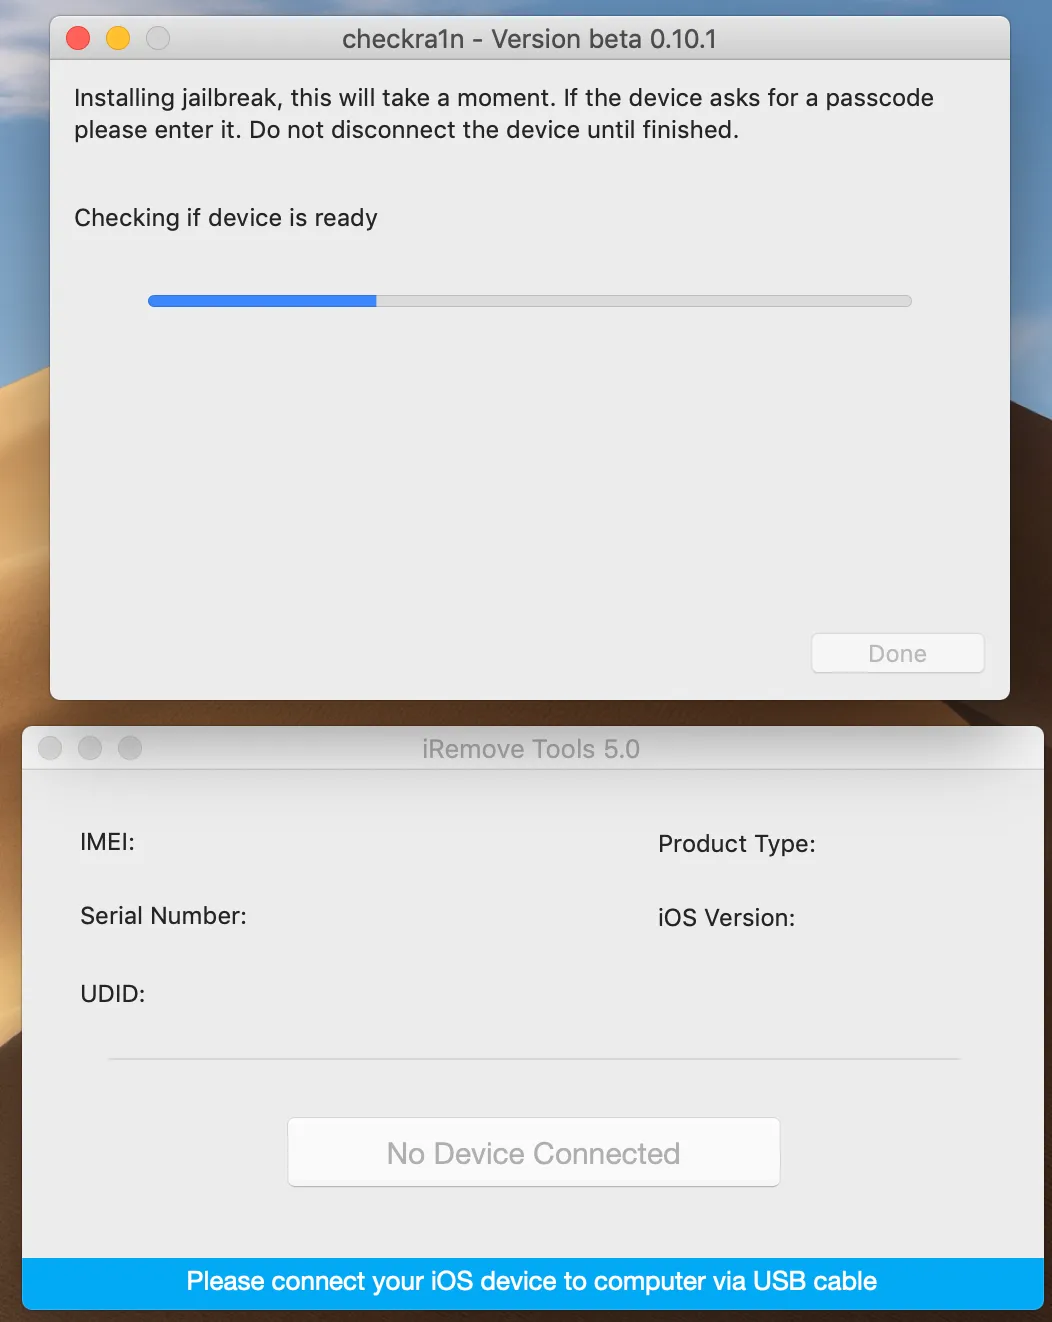
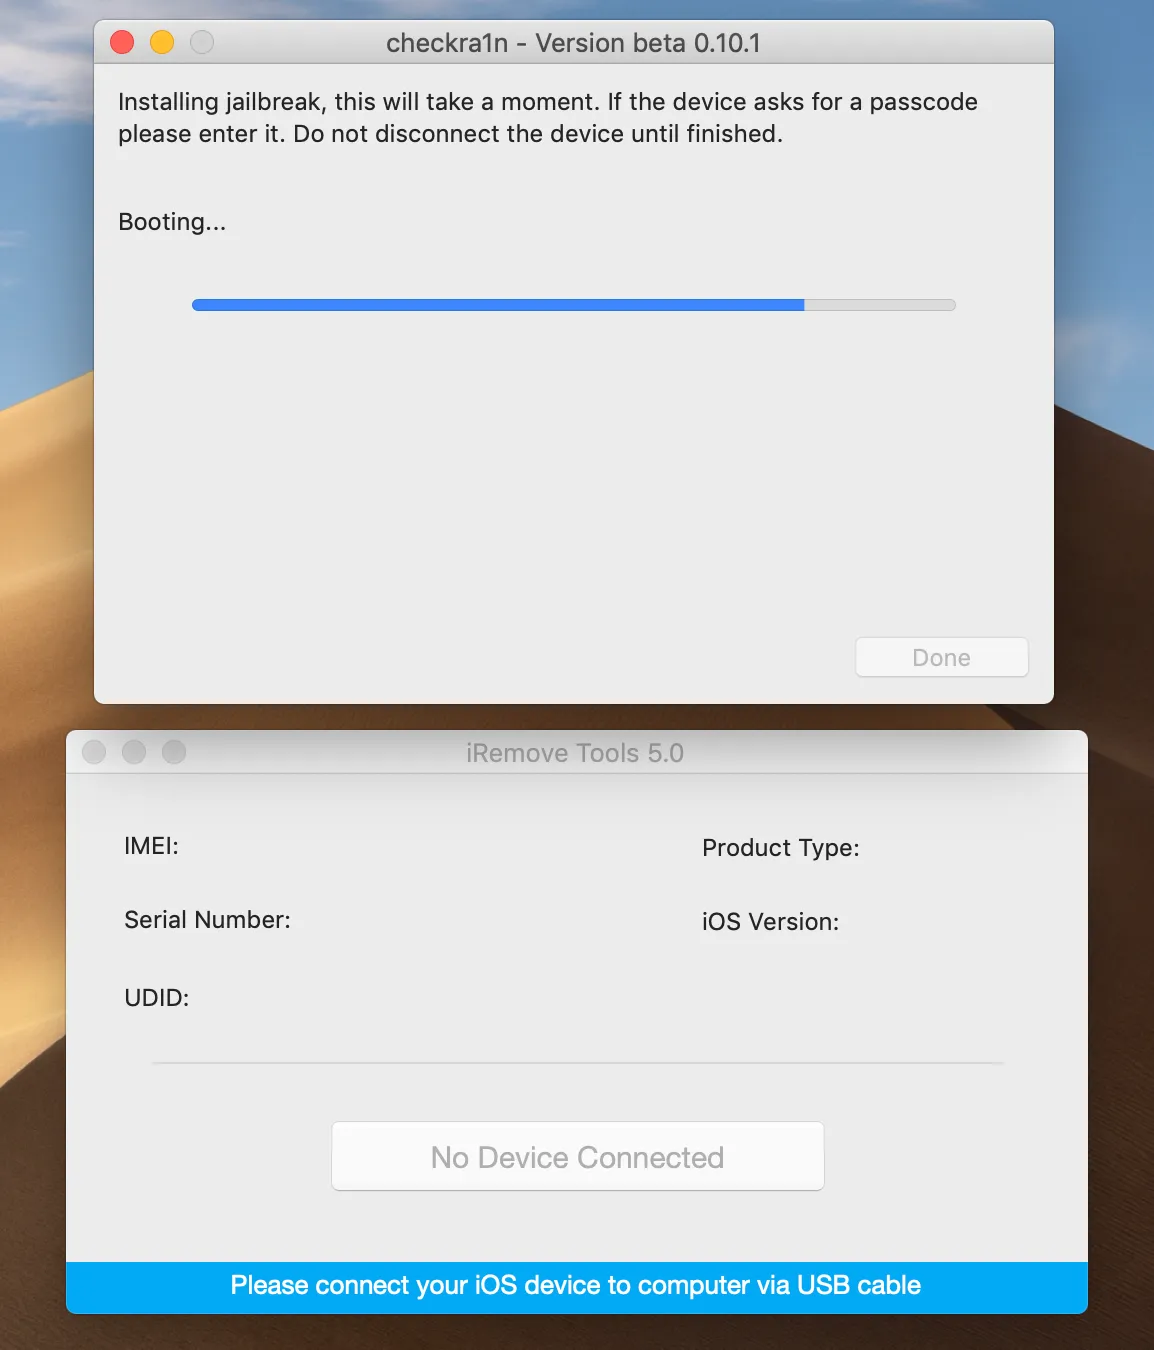
- Botting:
- Jailbreak process completed:
- Download and launch iRemove Software. To do so, click the right mouse button on the app icon and select “Open”. Make sure full permissions are granted to the app and FileVault is disabled in case the app is running with issues while it’s on
- Check if your device is ready:
Learn in this guide an easy fix for checkra1n error, “Right Before Trigger which happens when you try to jailbreak your iOS 16 device.
The post FIX Checkra1n iOS 16 Jailbreak Errors – Updated 2023 Download Links appeared first on Jailbreak iOS 16.0.


